My Square Foot Garden And You Can Too
Finally got around to building my own garden. Pretty excited about it. I’m using the square foot gardening methodology. It uses a special mix of soil in a raised bed. The full writeup on the process is after the break for anyone interested.

1)Plan. Plan. Plan. Take into account fiscal, transportation, and space constraints. Do your research on what vegetables you want to put in. Complimentary plants, weather considerations, etc. Draw out your boxes.
2) Acquire the materials. I managed to get everything I needed for two 16 square foot raised beds for $164. (I wanted a 4×8 bed, but can’t fit 8ft boards in my car, LOL) This included wood, compost, twine, 3” wood screws screws, stain, perlite, peat, and seeds. All I needed before hand was a pair of work gloves and a drill with the right bit for your screws.
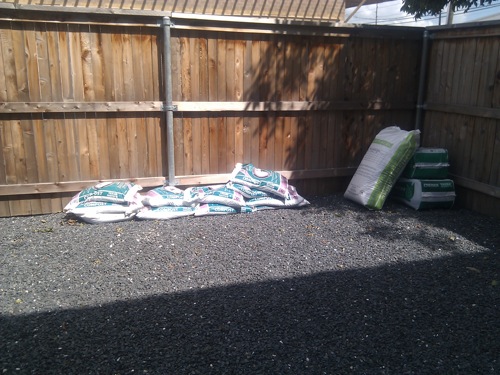
3) Scout a location. Plenty of sunlight (though I picked a spot that gets some shade because of the oppressive Texas sun). This is the sun cover around 5PM.

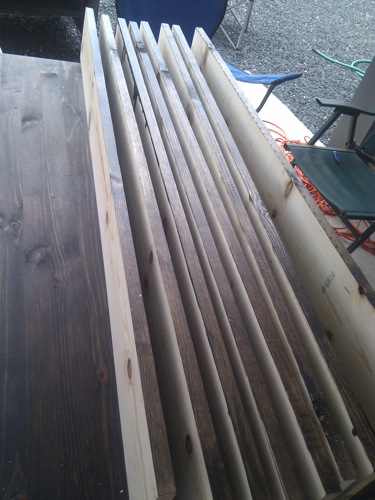
4) Build your boxes. I used a one 8 foot 2 inch wide, 6 inch deep white pine board for each. Cedar is probably a better choice, but it cost more. Having a friend around can really help this go quickly. I stained the front and top and sides for aesthetic reasons, but you don’t have to.(I didn’t on the soil facing sides.)

Don’t try to skip on pilot holes:
Because you’ll end up with something stupid like this:
I used a simple square to make sure the corners were 90 degrees:
5)Place your boxes. 3 feet apart so you can walk between them. I left a couple feet between them and the fence too, but that’s not really necessary. Note I also directly unloaded my bags to the location. Work up front, but easier when its later in the day. That’s 11 bags of compost, 1 big bag of perlite, and 2 things of peat moss.
6)You want to brace your boxes into the ground. Either stakes, or since I have one of those modern gravel garden things ( I abhor lawns – waste of time, money, resources) I just dug out the rocks, put the box in, and used the same rocks to hold the frame in place.
Make sure, once the frame is embedded, that it’s level. (Use a 2 foot level – $9 – across each corner for this.)
7)Lay down some newspaper. Prevents weeds/grass from getting into your bed. You probably want to use black and white newspaper, or can use weed mat. I just had this laying around (I don’t subscribe to a newspaper, though I did remove all the glossy stuff).
8)Time to put in your soil mix. DO NOT STEP ON YOUR MIX. EVER. I used 50% compost, 25% peat moss, and 25% perlite (a kind of rock).
I just put the stuff into the boxes in proportion, slowly, in small batches, and mixed them in the box. The rake tore up some of the paper though, I also knocked some out of the box. Other people put it into a tarp and mix first. Sounded like a hassle.
Home Depot carries a solid locally produced compost for a couple bucks. You can use your own. Avoid anything that may have weed seeds in it. Perlite is EXPENSIVE at the big box outlets (~$60 for 12 small bags ). I got that big bag at the local hydroponic store for $22. (Beware, entering a hydroponic store is like walking into a mad scientists laboratory.)
9)Lay down your grid. I drilled a screw in every foot, err, strung some string across them.
10) Plan again.
Figure out how many holes you need for the plants you picked. For example, my cilantro has 9 holes per square, but my squash takes up 9 squares. There’s guides online for this, though they seem to differ randomly.
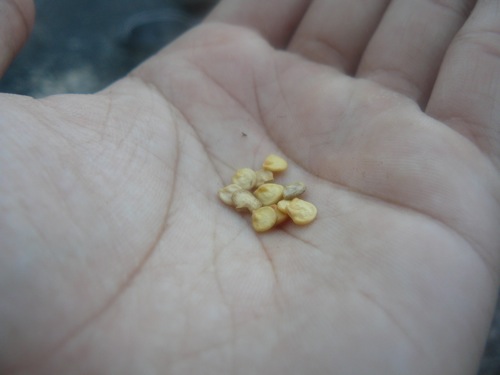
11) I just stuck a pen in half way into the soil, dropped 2-3 seeds in, lightly covered them and watered with one cup.
NOTE: Seed packets are amazingly informative. Unfortunately, I didn’t recognize this until after the fact. (They tell you how deep you should plant a seed, how long they take to germinate (or how long you should wait before worrying) and when to harvest.) Keep the packaging (and remaining seeds in a dry, cool place).
12) Water every morning with sun warmed water. I’m still trying to figure out how that works. (The water is cold in the morning, and by the time it warms up, it’s not morning anymore. LOL.) I just use the hose to fill up a five gallon bucket ($3 at Lowes), let it sit, and put a cup on every square that has seeds.
I like this method, because you have to get up and close to each plant. As they grow, you should check out the leaves etc for any damage or unfriendly creatures. Easy to do as you pour.
That, and weed, though, if you do the soil mix right, you won’t have to worry about that much.
NOTE: This is designed to be a pain-free, cheap experience you can enjoy and thrive on. If you don’t feel like (or can’t) bend over or dig, simply build the bed on a raised platform (cheap if you use concrete blocks for a buck a piece). No big deal.
-Shlok
Sign up for my newsletter.


Comments (11)